Configure the process for employees taking strength checks
In this article:
- Step 1. Select the types of requirements
- Step 2. Customize the intro message
- Step 3. Add a validation process (optional)
- Step 4. Grant access to strength checks
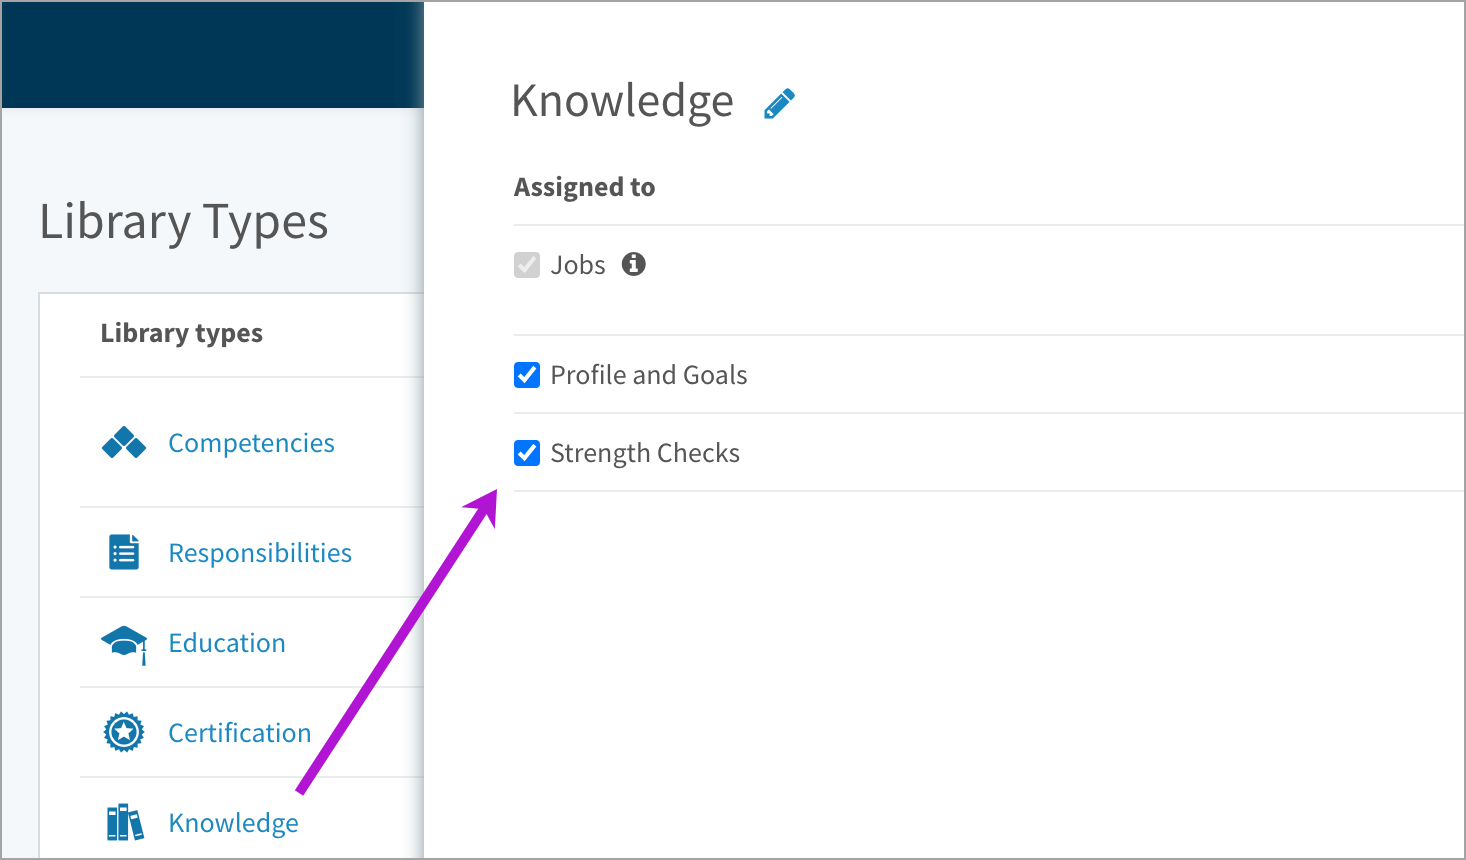
Step 1. Select the types of requirements
Competencies are mandatory but knowledge is optional to include on strength checks.
- Click the gear icon on the top right of your screen.
- Expand Architecture in the Administration menu and select Library Types.
- Click the Knowledge library type to open a side panel.
- Select or deselect the Strength Check checkbox (changes are live saved).
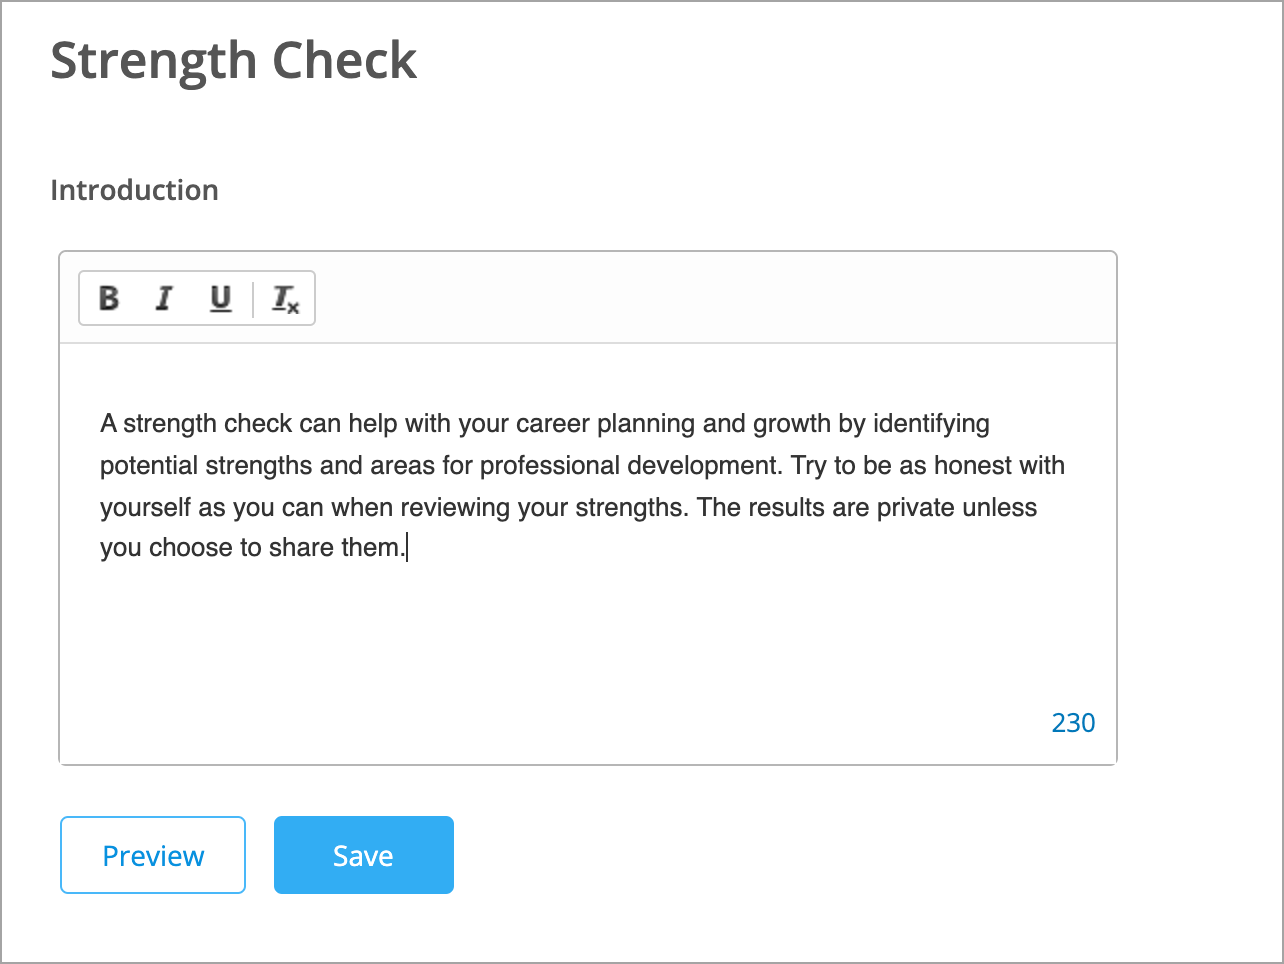
Step 2. Customize the intro message (optional)
The message employees see when they start a strength check can be customized. There is a limit of 500 characters.
- Click the gear icon on the top right of your screen.
- Expand Messages in the Administration menu and select Strength Checks.
- Customize the Introduction and click Preview.
- Once you’re happy with the message, click Save.
Step 3. Add a validation process (optional)
Check out the Add a profile validation process article to learn more.
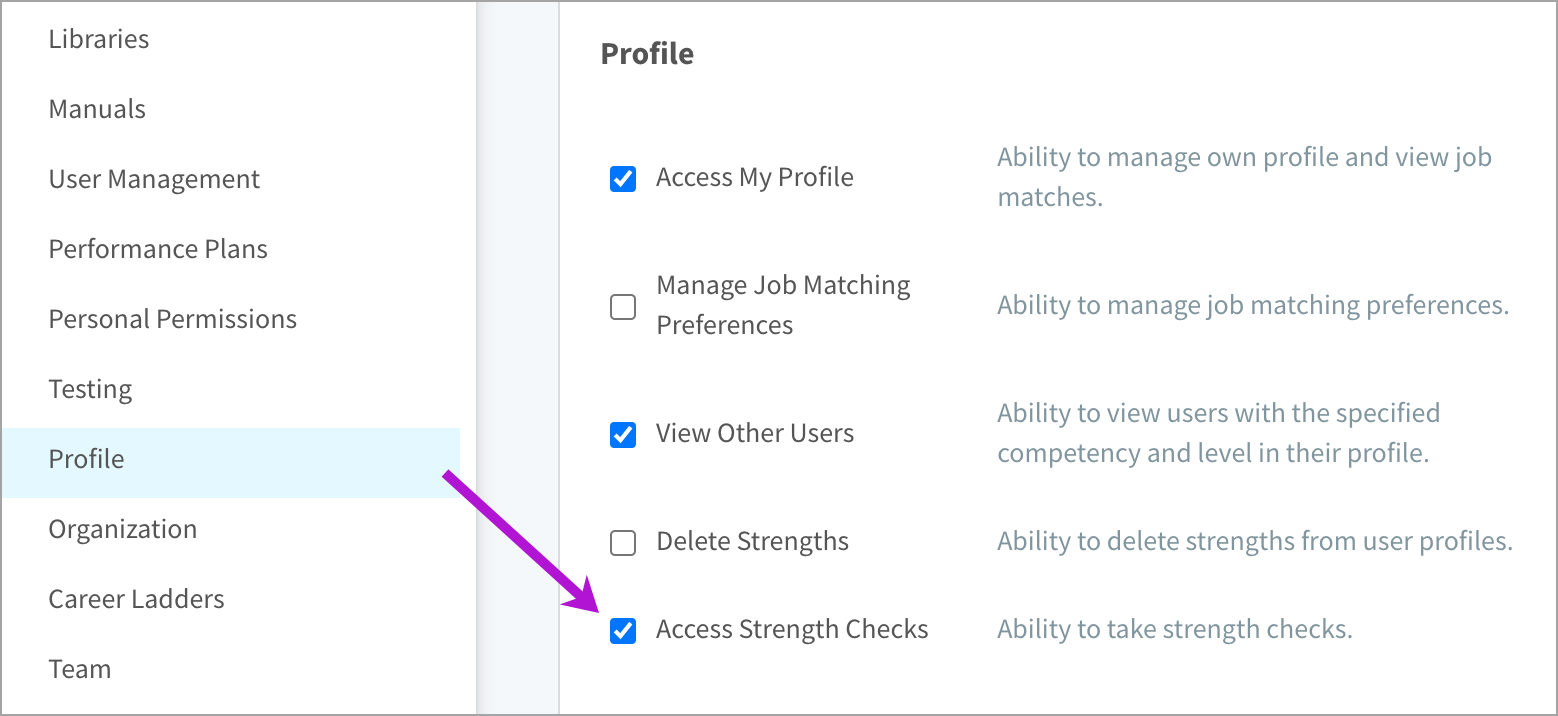
Step 4. Grant access to strength checks
Turn on the Access Strength Checks permission for the security profiles on your site.
- Click the gear icon on the top right of your screen.
- Click Security Profiles in the Administration menu.
- Click the shield icon beside a security profile.
- Click Profile in the Permissions menu.
- Select Access Strength Checks and click Save.