Learn how to set up widgets and customize the layout of user dashboards
In this article:
- Setting up the dashboard
- Configuring dashboard widgets
- Managing the dashboard layout
- Publishing the dashboard
Your site comes with a customizable dashboard. As the administrator, you can make widgets available to end users and design the dashboard layout. Once you’ve published updates, users see a copy of the dashboard on their homepage. Depending on how much flexibility you allow, users can make changes to their own dashboard.
Setting up the dashboard
Your site homepage can display a dashboard or a content document.
- Click the gear icon on the top right of your screen.
- Click Settings in the Administration menu.
- Click Home under General Settings.
- Select Dashboard or Content Document in the Homepage display setting.
- If you selected Content Document, select a document in the Homepage content setting.
- Click Save at the bottom of the page.
Configuring dashboard widgets
- Click the gear icon on the top right of your screen.
- Click Dashboard in the Administration menu.
- Select which security profiles have access to each widget.
- Refer to the instructions below to configure specific widgets.
- Decide how widgets will appear on user dashboards:
- Optional - Show by default: The widget appears but can be removed.
- Optional - Hide by default: The widget doesn’t appear but is available to add.
- Mandatory: The widget appears and cannot be removed.
- Unavailable: The widget doesn’t appear and is not available to add.
Tip: To prevent user customizations, turn on the Lock user dashboards switch. Widgets will be mandatory or unavailable; users can’t add, move, resize, or remove widgets.
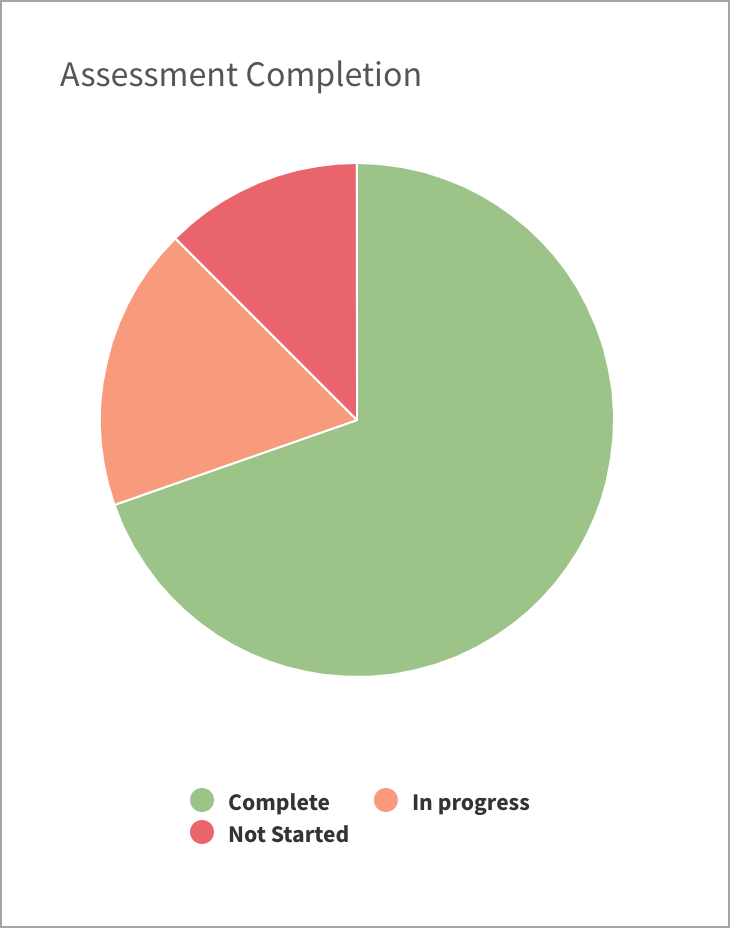
Assessment Completion
Display: An assessment completion report that’s been created and saved by the user on their own account. Pointing to the chart displays more detail.
Requirements: The Assessments module needs to be installed and the user needs permission to Access Reports.
Setup: The user has to set this one up themselves because the widget only displays assessment reports that the logged in user has created and saved.
Broadcast Messages
Display: A single broadcast message.
Requirements: You need permission to Manage Broadcast messages in order to create a message. No permission is required to view this widget.
Setup: Follow the steps in the Manage broadcast messages article to create a message. Then return to the Manage Dashboard page and select the message you created.

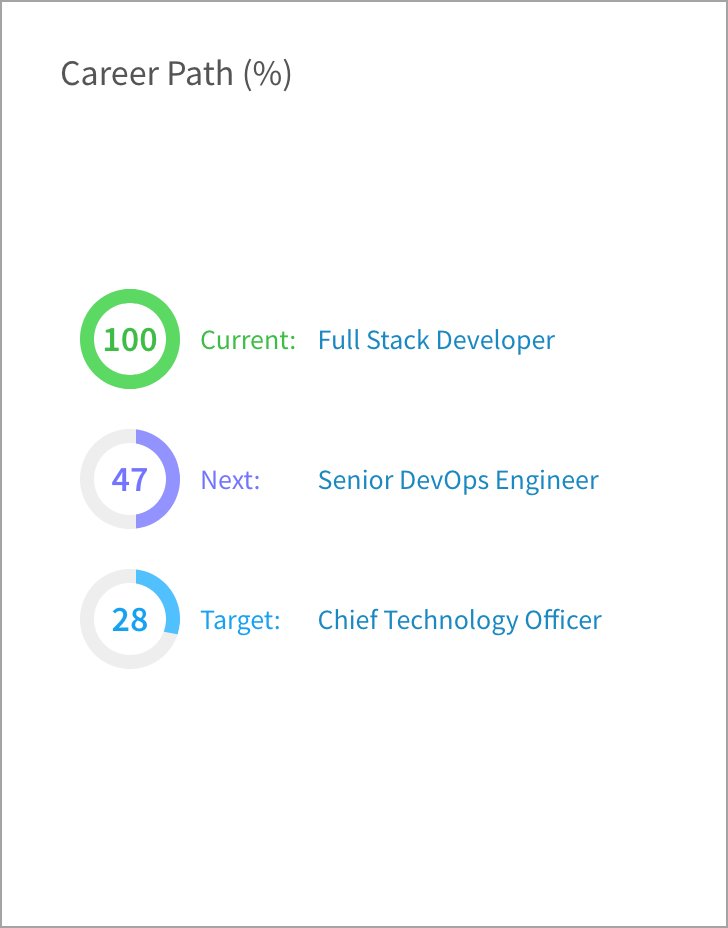
Career Path
Display: The user’s current, next step, and target role. The widget also displays how closely the user’s profile matches each of these jobs. Clicking a job opens the detailed job match window. If no career path has been created, the user is prompted to create one. If the user hasn’t met the minimum profile completion percentage, they’re prompted to complete their profile.
Requirements: The user needs permission to Access Career Paths.
Setup: Doesn’t require any setup.
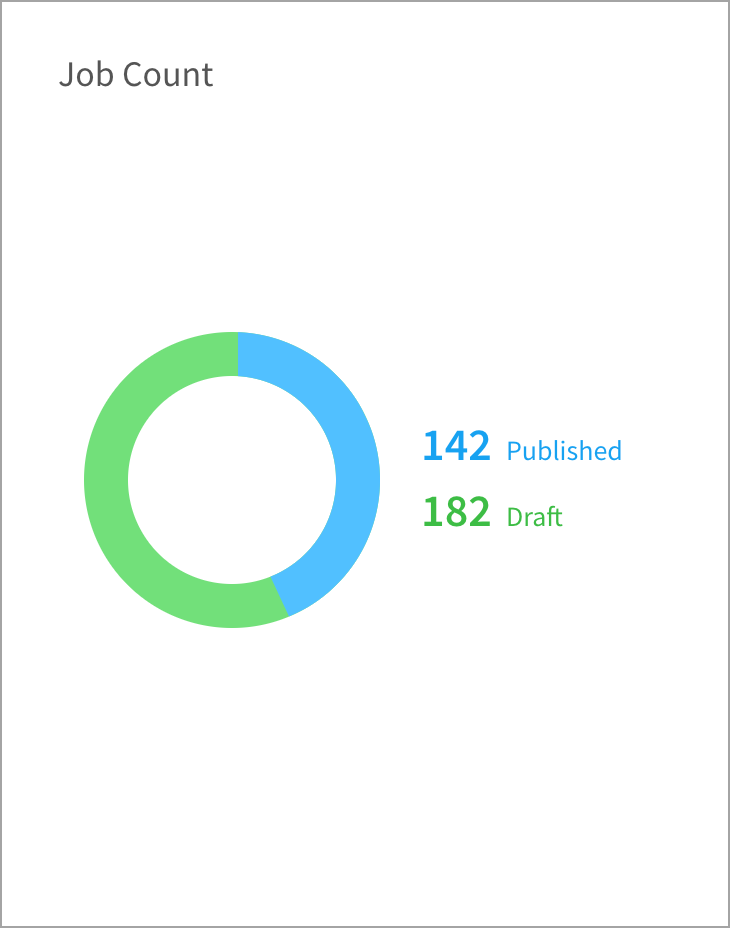
Job Count
Display: A count of published and draft jobs on the site. If there are no jobs, a link appears to create a job.
Requirements: The user needs permission to Manage Jobs.
Setup: Doesn’t require any setup.
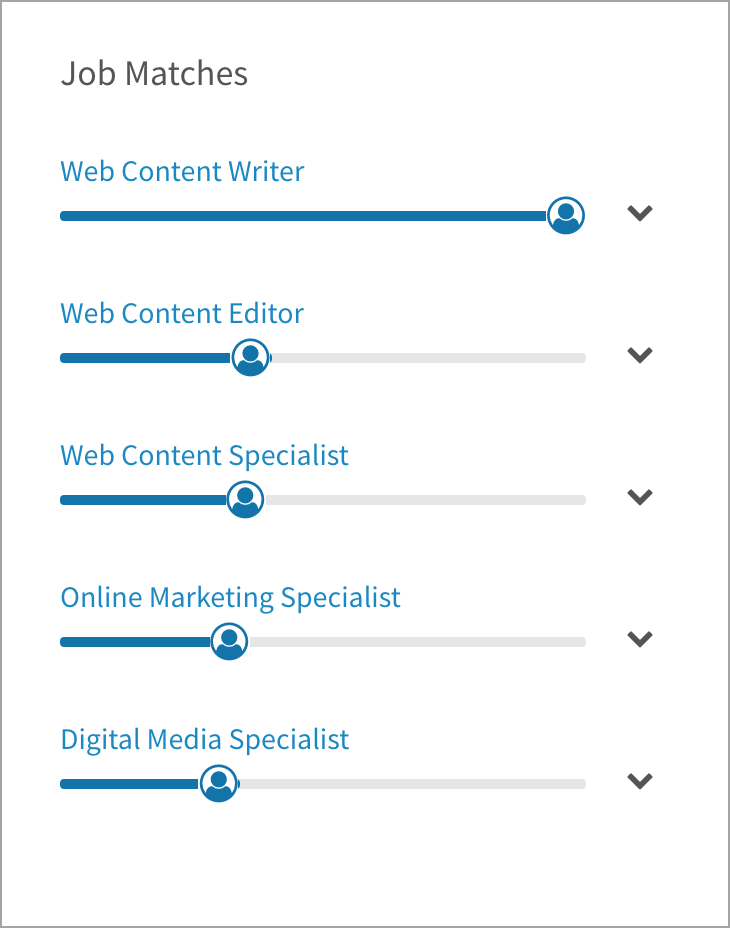
Job Matches
Display: The top five job matches based on a user’s profile. A progress bar indicates how close the user is to having all of the required competencies for a job. Clicking Details displays a breakdown of each library type. If the user has no job matches, they’re prompted to view their profile.
Requirements: The user needs permission to Access My Profile.
Setup: Doesn’t require any setup.
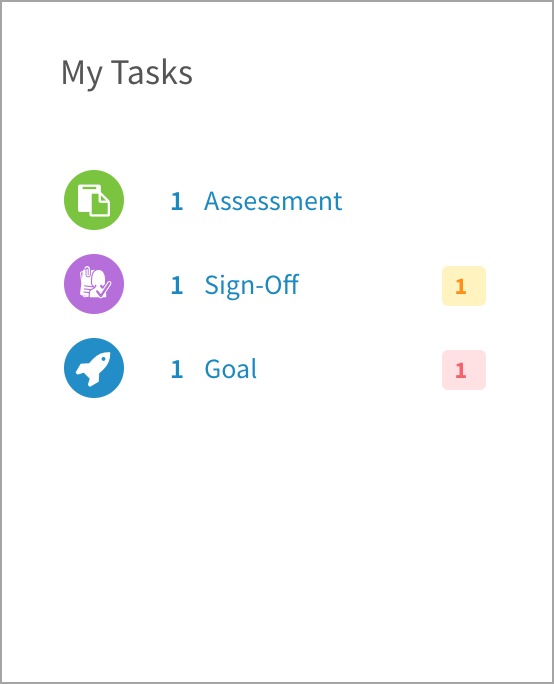
My Tasks
Display: A count of each type of the user’s current open tasks. Clicking a count opens the My Tasks page pre-filtered to display open tasks of that type.
Requirements: No module or permission is required to view this widget.
Setup: Doesn’t require any setup.
Recently Viewed Jobs
Display: The user’s 10 most recently viewed jobs and their status. Extending the widget to two columns also displays the date a job was last viewed. At the bottom of the widget is a link to create a new job. When no jobs have been viewed, a link appears to view all jobs.
Requirements: The user needs permission to Manage Jobs.
Setup: Doesn’t require any setup.

RSS Feed
Display: The 20 most recent blog posts. Click Show more at the bottom of the widget to see another 15 posts. The maximum number of posts you’ll see is 35, but most RSS feeds only have between 10 and 15.
Requirements: No module or permission is required to view this widget.
Setup: Get the RSS URL for a blog:
- Go to the blog you want to display.
- Right click on the page (Command + right click on a mac).
- Select Inspect in the drop-down menu.
- Press Control + F (Command + F on a mac).
- Type in “RSS” in the search bar that appears.
- Copy the RSS link. For example http://resources.hrsg.ca/h/c/412329-the-competency-corner-blog.rss?allitems=1
- Paste the link into the RSS URL in CompetencyCore. Only 2.0 RSS feeds are displayed.

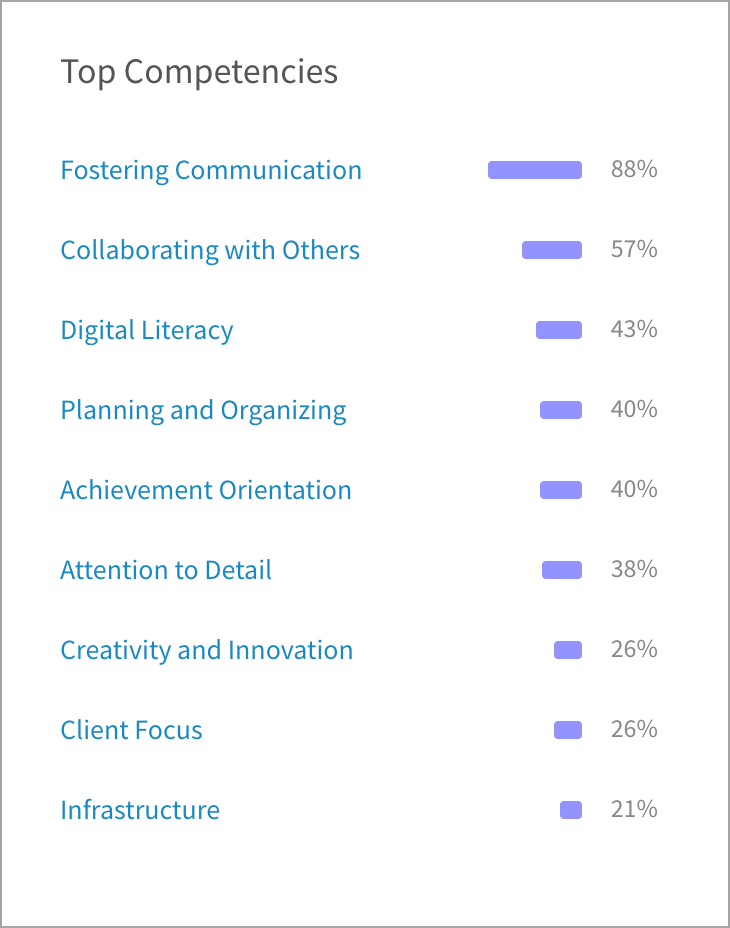
Top Competencies
Display: Displays the 10 competencies most frequently assigned to jobs and their frequency percentages.
Requirements: The user needs permission to View Libraries.
Setup: Doesn’t require any setup.
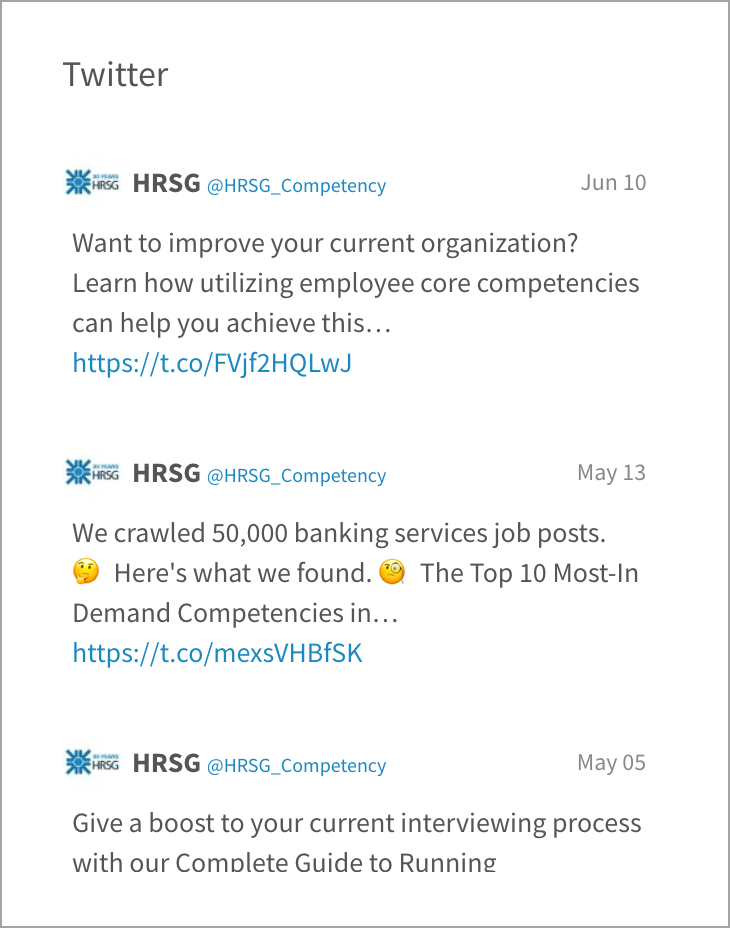
Display: The 20 most recent tweets from as many twitter accounts as you’d like to add.
Requirements: No module or permission is required to view this widget.
Setup: Enter the twitter handles separated by commas if there are multiple Twitter feeds you want to include. For example: HRSG_Competency
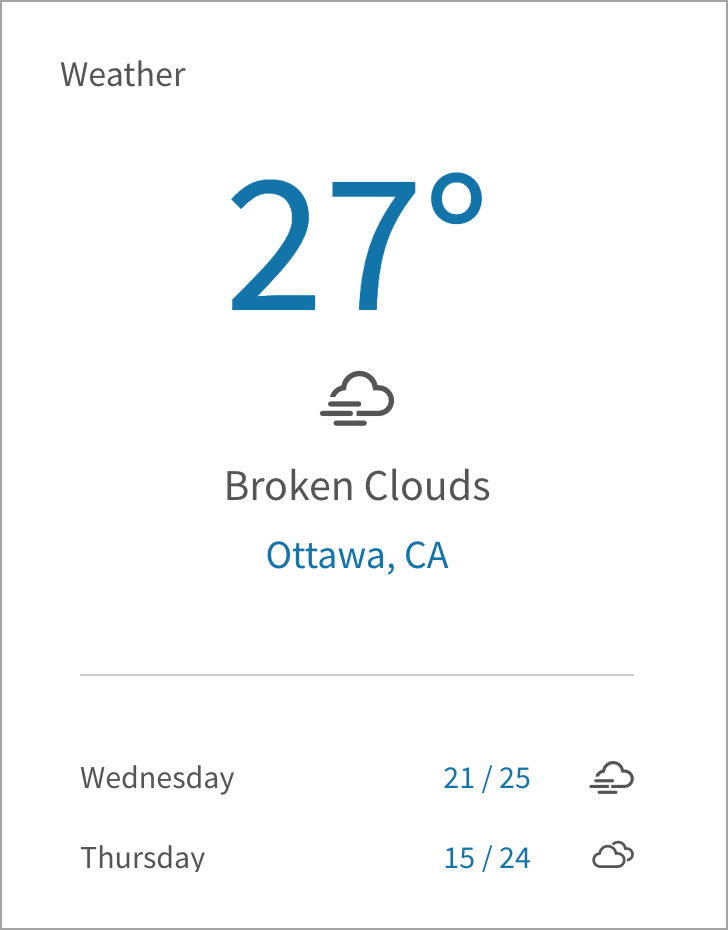
Weather
Display: The current weather and the highs and lows for today and the next four days. Scroll to the bottom of the widget to see today’s wind, wind gust, humidity, and pressure.
Requirements: No module or permission is required to view this widget.
Setup:
- Enter the name of the city.
- Enter the two digit country code such as CA for Canada.
- Select Metric (C°) or Imperial (F°) units.
Managing the dashboard layout
- Click the gear icon on the top right of your screen.
- Click Dashboard in the Administration menu.
- Click Layout on the top right of the page.
- Click and drag the bottom right corner of the widgets to resize them.
- Click the header of a widget and drag it to re-position it on the dashboard.
- Click Preview to see how the dashboard will appear to end users.
- Click Save. User dashboards won’t be updated until you publish these changes.
Publishing the dashboard
You’re ready to publish! Click Publish Updates on the top right of the page. There are two publishing options to choose from:
- Update User Dashboards: Keeps user customizations but adds and updates their dashboards to match the changes you’ve made to the template.
- Reset to Default: User customizations are lost so all dashboards looks like the template.
Users receive a message informing them that the dashboard has been updated or reset.