Understand how learning resources are organized and learn how to input your own resources with custom fields
In this article:
CompetencyCore helps align your organization’s training material, courses, and other learning resources to support development tasks based on competencies.
How resources are organized
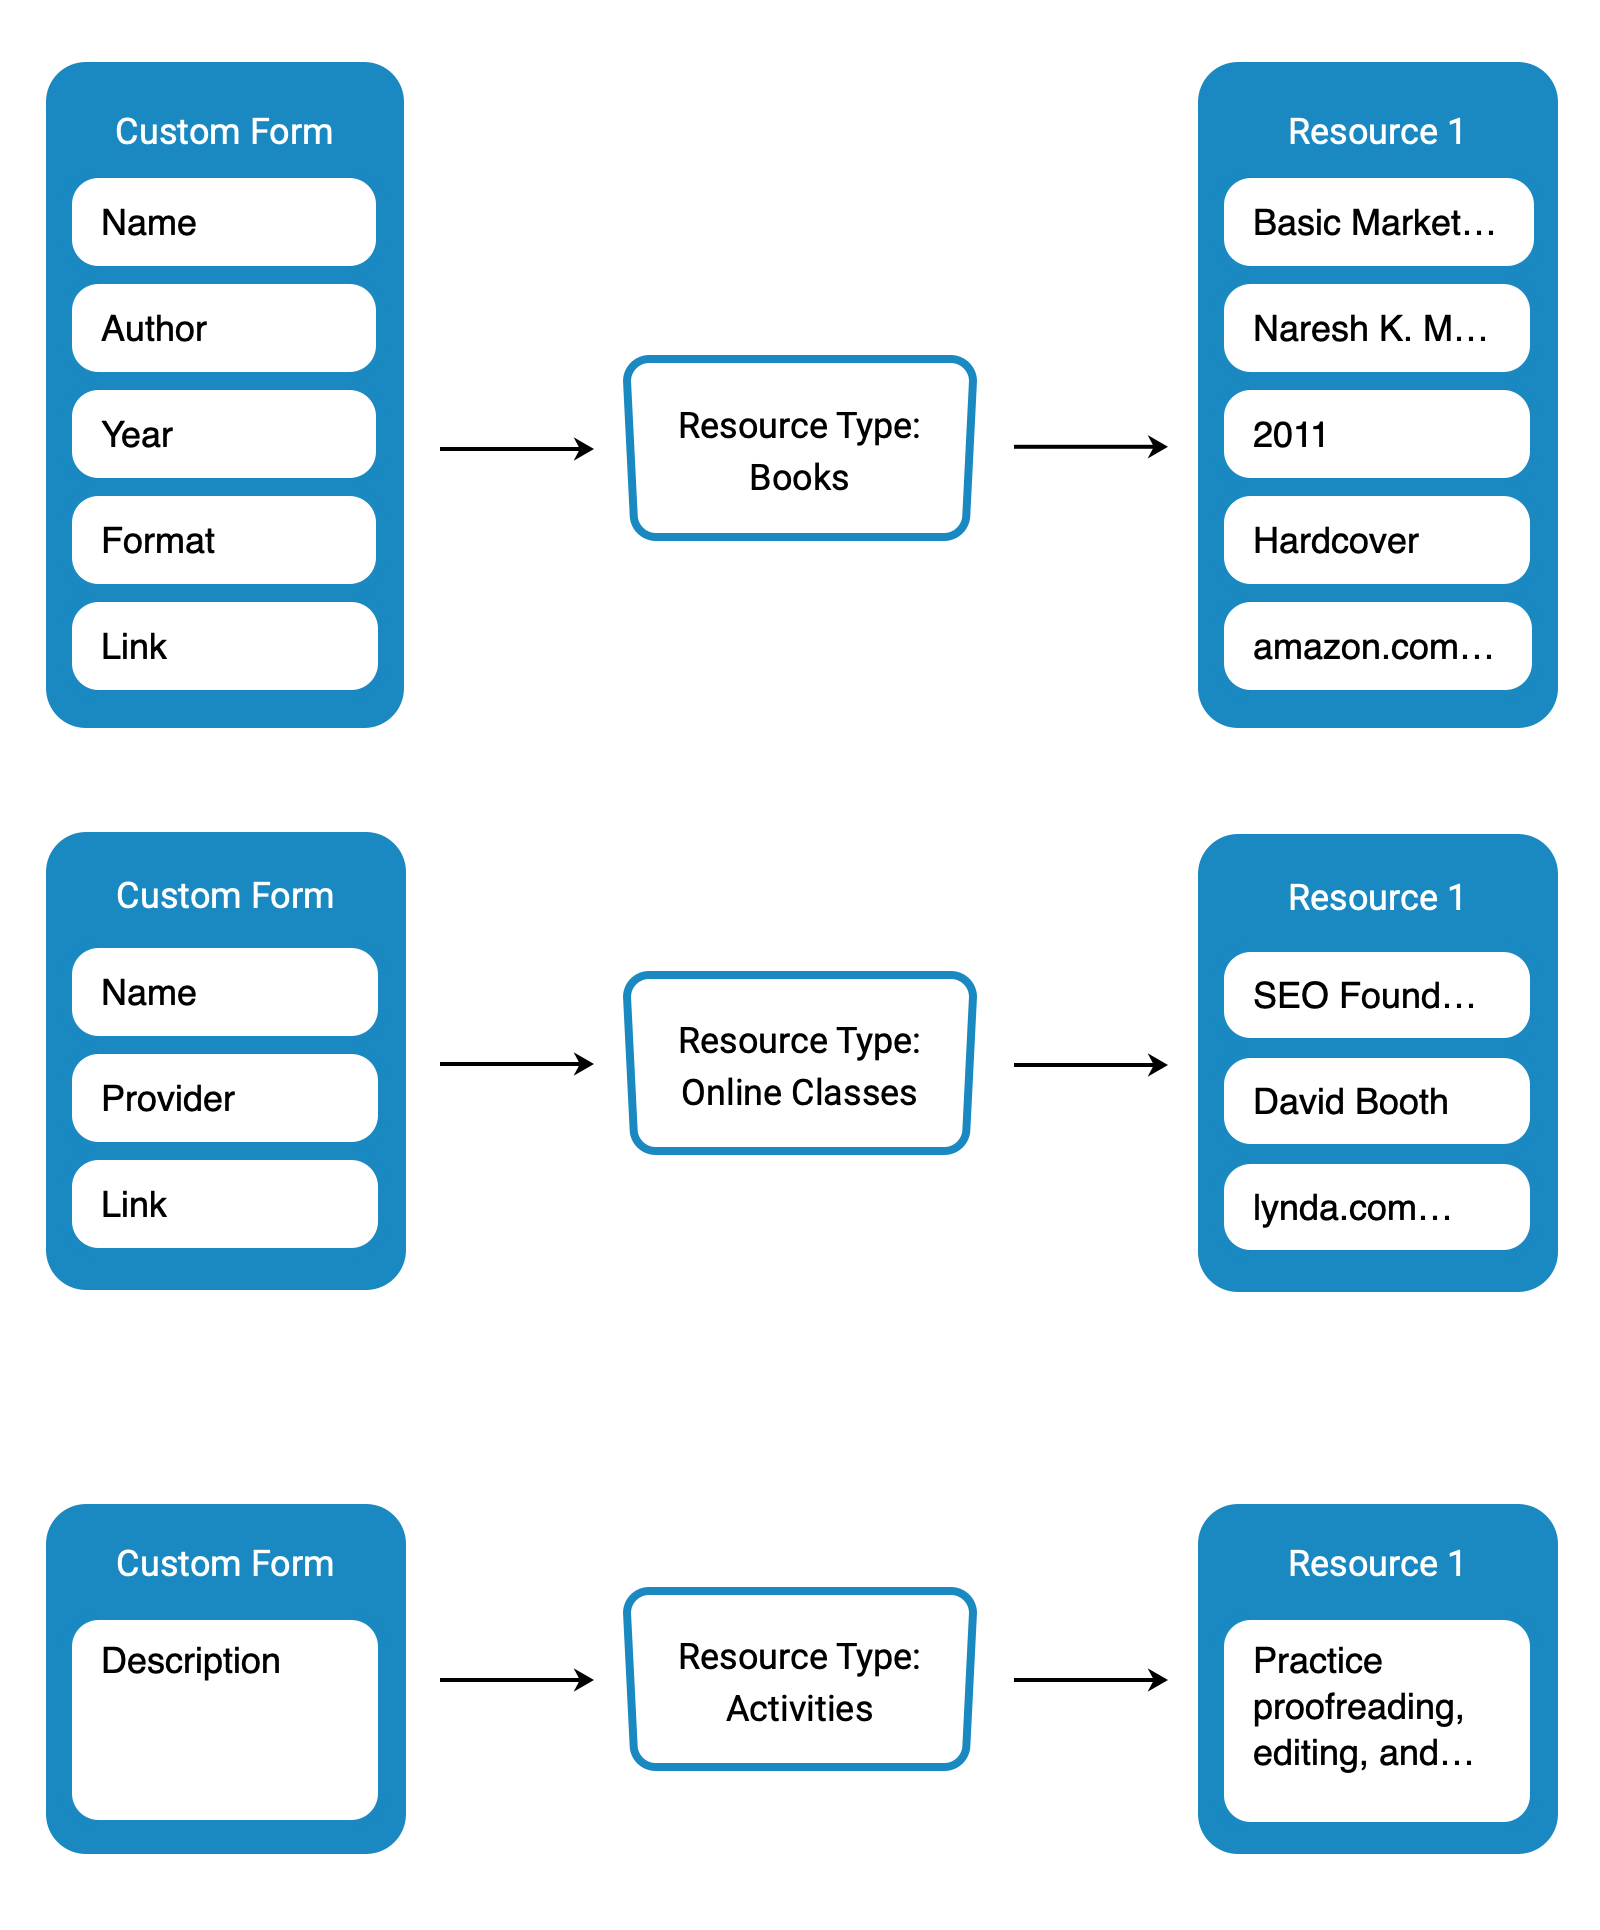
Categories are used as containers for resource types. Resource types are where you specify a custom form. Learning resources themselves are copies of that custom form all stored on the resource type.

Resources belonging to different resource types include different fields of information depending on the custom form. This flexibility allows you to customize exactly how your learning resources are formatted in CompetencyCore.
Creating learning resources
Step 1: Build a custom form
Custom forms are created and stored in Administration. You can add different types of fields like text boxes, date pickers, and links. The same fields can be reused on different forms, and you can customize the name of each field so your completed forms reflect the learning resources you plan to add to your site.
- Click the gear icon on the top right of your screen to go to Administration.
- Expand Features in the Administration menu and click Forms.
- Click Create Custom Form on the top right of the page.
- Enter a name and description and leave the status Enabled.
- Select Learning Resources in the Service drop-down.
- Select Learning Resources in the Sub service drop-down and click Save.
- If you don’t see the fields you need, click the gear icon and select Create Field.
- Enter a name and select a field type such as Textbox. Click Save.
- Select fields to add to the form and click Add.
For example, you might create a custom form for books with fields for the name, author, publication year, format, and link.

Step 2: Create a resource type
Resource types are stored in a category. We recommend having one category called “Learning Resources” to store all of your resource types.
- Navigate to Learning Resources.
- Click the 3-dot icon on the top right of the page and select Manage Resources.
- Click Create and select Type.
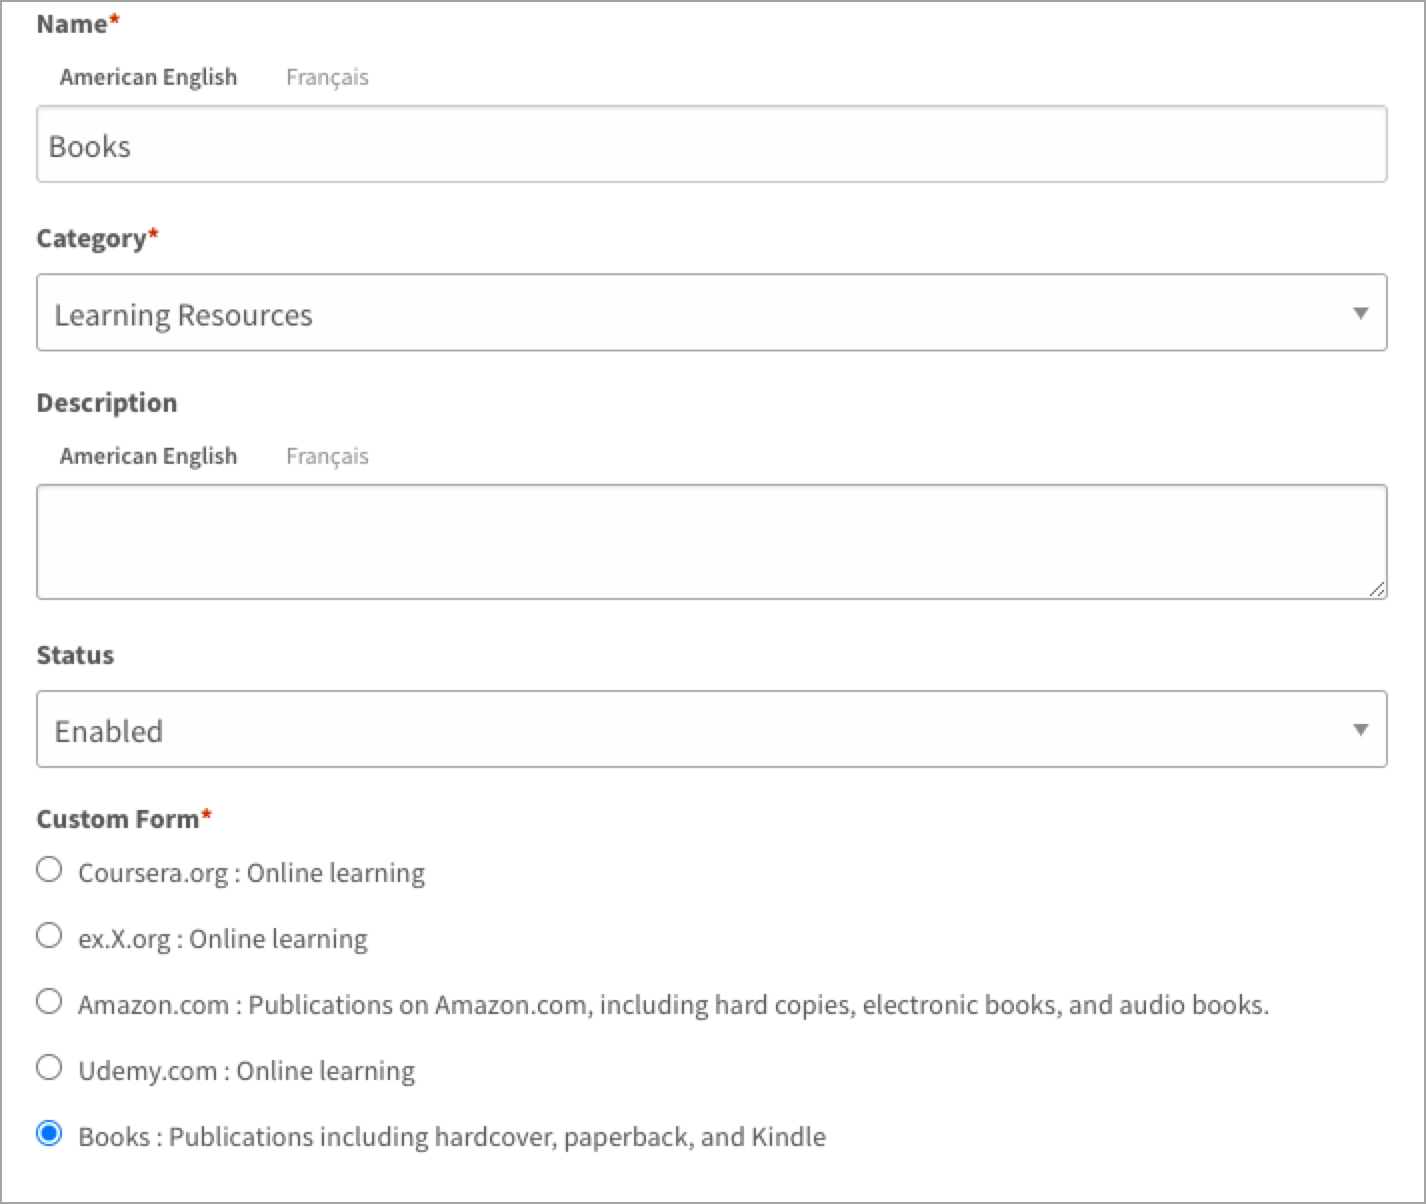
- Enter a name and select a category to store the resource type.
- Enter a description and leave the status Enabled.
- Select a custom form to populate the resource type and click Create.
Step 3: Add learning resources
Once you’ve created a resource type and attached your custom form, start adding learning resources. For each resource, fill in the fields you specified on the form. You can associate a competency so employees know which resources will help them achieve their goals.
- Navigate to Learning Resources.
- Click Create Resource on the top right of the page.
- Select a category and resource type and click Next.
- Fill in the custom form fields and click Save.
- Scroll to the bottom of the page and click Associate Resource to Library Items.
- Select a library and browse the competencies. Filter by group or search for a competency.
- Click a competency to add it to the resource and close the window.
- Repeat steps 1-7 for each resource.
