Learn how to sort users into custom groups
In this article:
For projects that cross departments, create a user group to keep track of the employees involved. Unlike departments, add users directly to a user group. One user might be in multiple user groups. This association does not reflect your organization’s structure or reporting hierarchy.
Creating user groups
- Click the gear icon on the top right of your screen.
- Expand User Management in the Administration menu and click User Groups.
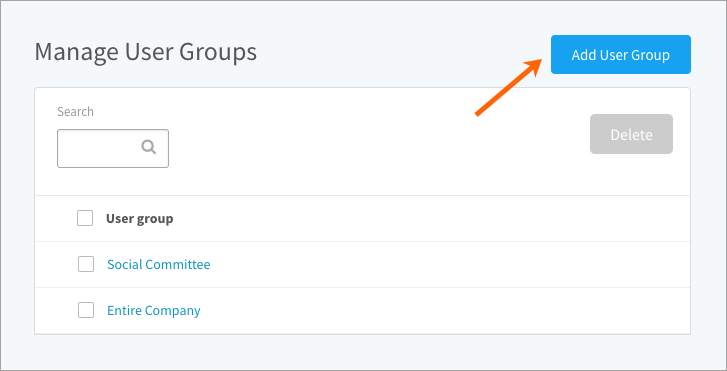
- Click Add User Group. Enter a name.
- Optionally search for an existing parent group and click Save.
- Click Add to search or browse for users to add to the group.
- Click the x icon to close the side panel. Changes are live saved.
User groups are listed in expandable hierarchies (if parent groups are selected) in the order they’re created with the most recent at the bottom.
Adding users to a group
- Click the gear icon on the top right of your screen.
- Expand User Management in the Administration menu and click User Groups.
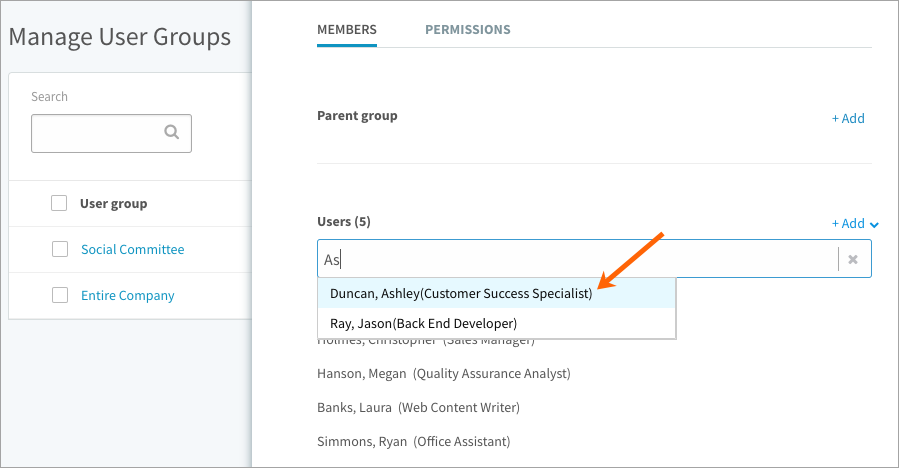
- Click Add and select Search. Type in the name of a user.
- Click Add and select Browse to add users quickly. Select the Users not in a group filter and add users from that list. Now, when you click a user group name to open the side panel, you’ll see a list of all its members.
- Click the x icon to close the side panel. Changes are live saved.
Note: A user can be added to multiple user groups.
Adding a parent group
- Click the gear icon on the top right of your screen.
- Expand User Management in the Administration menu and click User Groups.
- Click the name of a user group to open the side panel.
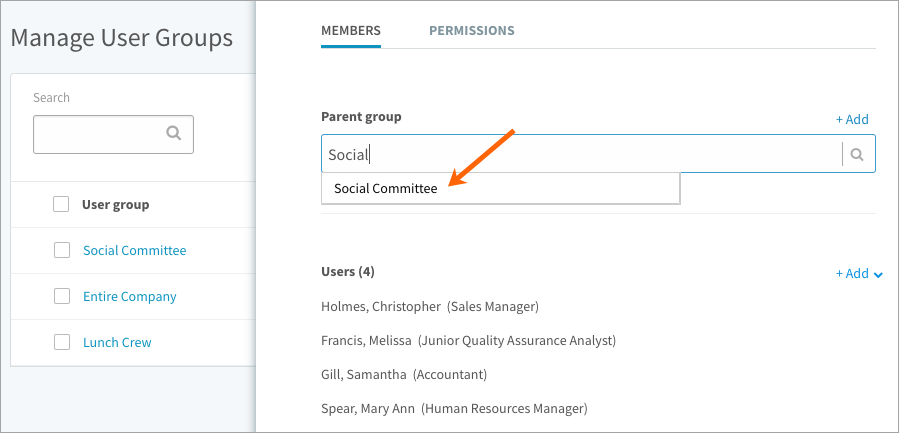
- Click Add and search for an existing group to designate as the parent. The same group can be a parent to multiple groups.
- Click the x icon to close the side panel. Changes are live saved.
Deleting user groups
- Click the gear icon on the top right of your screen.
- Expand User Management in the Administration menu and click User Groups.
- Use the search to help you find a user group.
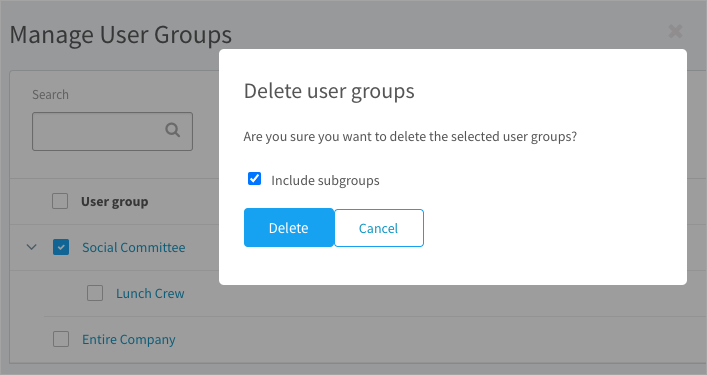
- Select user groups in the table and click the Delete button.
- Select Include sub-groups; otherwise sub-groups roll up to the next level.
- Click Delete to confirm.