Learn how to organize competencies and other items in groups
In this article:
About groups
There are two types of groups in Libraries: regular library groups and smart groups.
Library groups: Library groups organize the items within a library. All library items need to be placed in a group when they’re created. Items can be moved between groups within a library, but they can only exist in one regular group. Groups are managed on a separate page in Libraries.
Smart groups: Smart groups are a different type of group. They’re a tool for planning and compiling lists rather than organizing a library. Use them to create customized collections of library items. Adding an item to a smart group does not remove it from its regular library group, so your library organization is maintained. You can add the same item to multiple smart groups.
Viewing groups
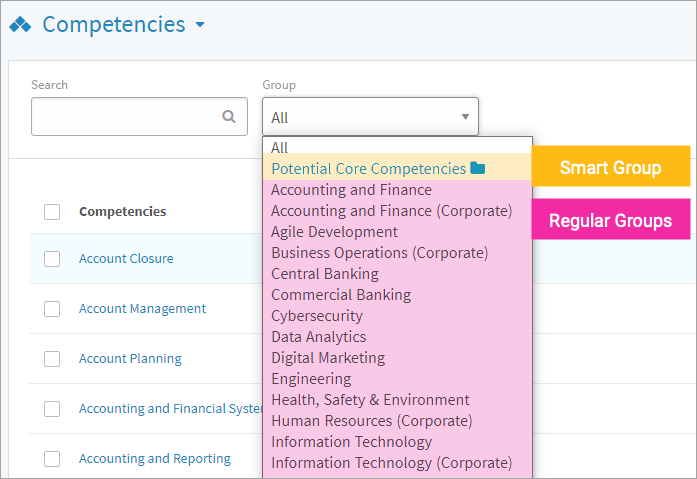
In your CompetencyCore account, navigate to Content > Libraries. Select a library in the drop-down at the top of the page. Click the Groups filter to open a drop-down listing the groups in that library. Smart groups are grouped together at the top of the list. A folder icon appears beside all of the smart groups to distinguish them from regular groups.
Adding items to groups
When creating items, you’ll be prompted to select a group. An item can only be in one regular group. After creating items, you can optionally add them to smart groups.
Caution: Items from across different libraries can’t be added to the same group.
- Navigate to Content > Libraries.
- Select a library in the drop-down at the top of the page.
- Point to a library item and click the 3-dot icon OR
- Select multiple items and click Actions.
- Select Add to Smart Group.
- Select a smart group OR
- Select Create new smart group and enter a name.
- Click Save.

Creating groups
To create a regular library group
- Navigate to Content > Libraries.
- Select a library in the drop-down at the top of the page.
- Click Create on the top right of the page.
- Select Group in the drop-down.
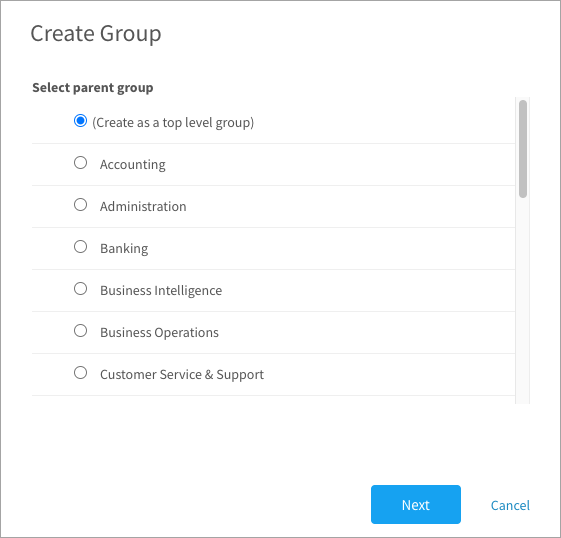
- Leave (Create as top level group) selected or select a parent group and click Next.
- Enter a group name and click Save.
Note: Competencies have one level of groups, but other types can have sub-groups.
To create a smart group
- Navigate to Content > Libraries.
- Click the 3-dot icon on the top right of the page.
- Select Manage Groups in the drop-down.
- Click Create on the top right of the page.
- Select Smart Group in the drop-down.
- Type in a name and click Create.
Note: Smart groups of any type can’t have subgroups.
Managing groups
To move, rename, or delete groups
- Navigate to Content > Libraries.
- Click the 3-dot icon on the top right of the page.
- Select Manage Groups in the drop-down.
- Select a library in the drop-down.
- Select the Show Smart Groups checkbox.
- Point to a group and click the 3-dot icon.
- Move: Opens a window to select another library if you have more than one of the same type. For non-competencies, you can also move a sub-group to a different parent within the same library or make a sub-group a top-level group. Note that groups are listed alphabetically and cannot be reordered.
- Rename: Opens a new window to edit the group name.
- Delete: Opens a confirmation. Only empty groups can be deleted.