Learn how to add locations that can be associated to job descriptions
About job locations
Build a customized list of locations in Administration that you can then choose from when you’re creating a job to specify where it’s located. You’ll be able to filter jobs by location.
Creating job locations
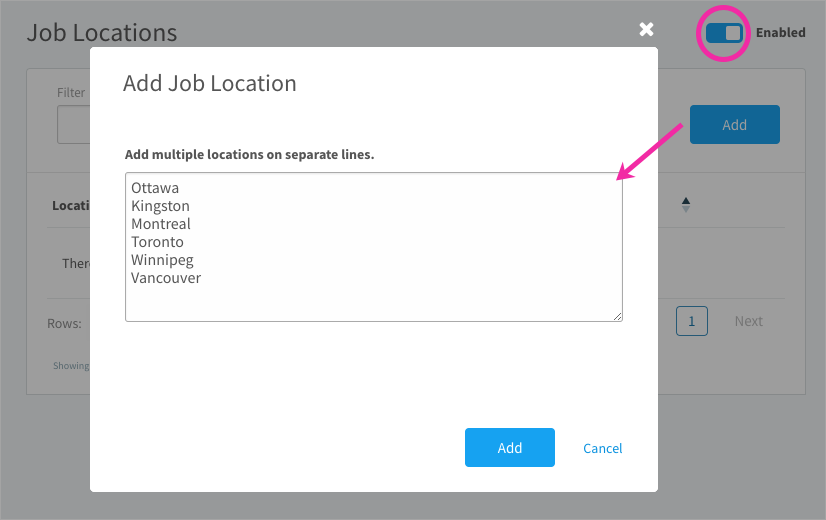
- Click the gear icon on the top right of your screen.
- Expand Architecture in the Administration menu and click Job Locations.
- Turn on the switch on the top right of the page to enable job locations.
- Click Add and enter each location on a separate line. Click Add. Point to a location in the table and click the pencil icon to edit or the trash can icon to delete.
If you delete a location that’s been added to published jobs, you’ll be given the option to replace with a new location on all associated jobs.
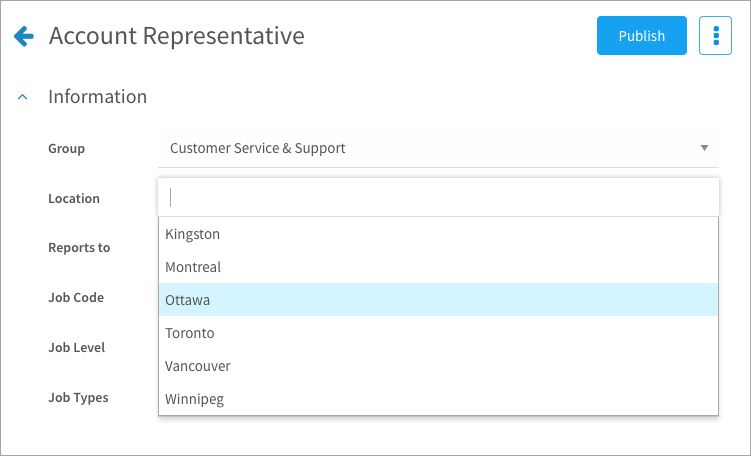
Assigning locations to jobs
Now that you’ve set up your list, these locations will be available to select. Locations can’t be assigned in bulk; you’ll need to edit a job description to select its location.
- Navigate to Content > Jobs.
- Click a job title in the Jobs table.
- If published, click Edit to create a draft copy.
- Select a location in the drop-down.
Note: A job can be assigned to multiple locations.