Learn how to create disclaimers, email templates, introductions, conclusions, and other content used throughout your site
In this article:
Content documents are messages you can edit and use in different modules like email templates or interview guide introductions. Your CompetencyCore site comes pre-loaded with default content that you can modify. Content documents are stored in categories.
Editing content
- Click the gear icon on the top right of your screen.
- Expand Messages in the Administration menu and click Content Documents.
- Expand a category in the Content index and select a document.
- If you’re copying text from another source, use the paste icon to remove hidden formatting.
- Make your changes and click Save.
Creating content
To create a category
- Click the gear icon on the top right of your screen.
- Expand Messages in the Administration menu and click Content Documents.
- Click the gear icon on the top right of the page and select Create Content Category.
- Enter a name and description.
- To make a sub-category, select a parent. Leave this blank to create a top-level category.
- Click Save.

To create a document
- Click the gear icon on the top right of your screen.
- Expand Messages in the Administration menu and click Content Documents.
- Click the gear icon on the top right of the page and select Create Content.
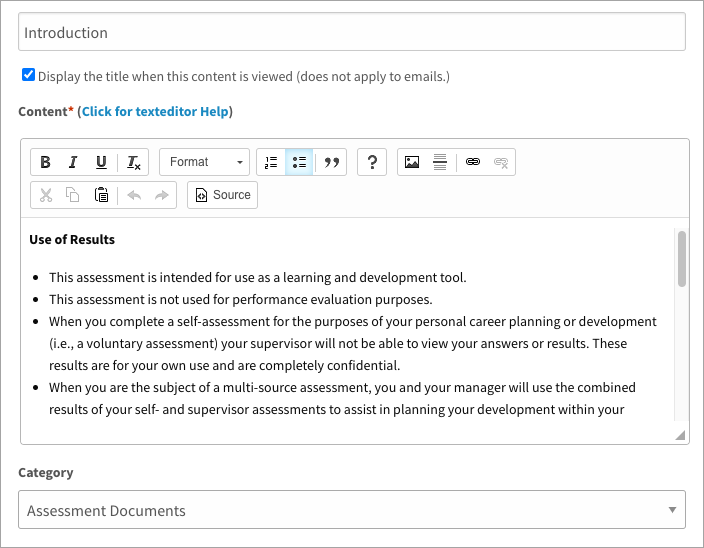
- Enter a title and decide whether it should be displayed.
- Enter content in the text area. If you’re copying text from another source, use the paste icon to remove hidden formatting.
- Select a category to store the document and click Save.
Note: This new document is now ready to use. Click Settings in the Administration menu and select Assessments, Plans, or Competency Profiler under CompetencyCore settings. You’ll find a list of email settings where you can select your new document.

Managing content
To move unassigned documents into a category
- Click the gear icon on the top right of your screen.
- Expand Messages in the Administration menu and click Content Documents.
- Expand Unassigned Content at the bottom of the Content index and select a document.
- Select a category to store the document and click Save.
To reorder documents in a category
- Click the gear icon on the top right of your screen.
- Expand Messages in the Administration menu and click Content Documents.
- Select a category of document in the index.
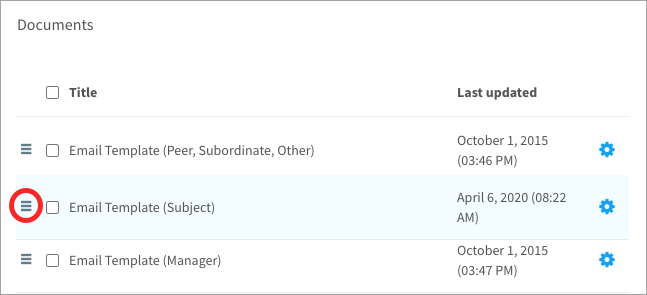
- Scroll to the Associated Content table.
- Click and drag the grips beside a document to reorder.
To delete a category or document
- Click the gear icon on the top right of your screen.
- Expand Messages in the Administration menu and click Content Documents.
- Select a category of document in the index.
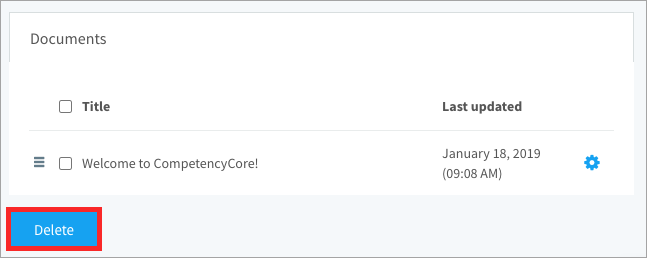
- Scroll to the bottom of the page and click Delete.