Learn how create an Excel file with learning resources to import into CompetencyCore
In this article:
- Step 1. Open a new excel file
- Step 2. Add headers
- Step 3. Map to specific levels
- Step 4. Save the file
- Step 5. Upload the file
- Step 6. Select a resource type (or create new)
- Step 7. Select field types
To import learning resources into CompetencyCore, you need to create a file that CompetencyCore can read. A separate import file is needed for each resource type. If competency and level names don’t match the names in CompetencyCore, the import will fail.
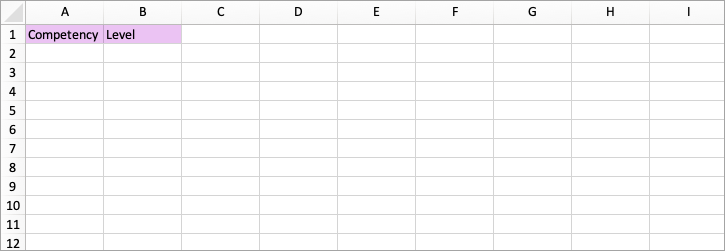
Step 1. Open a new excel file
Enter “Competency” in Column A as the header. Enter “Level” in Column B as the header. The import will not recognize other content in the first two columns. As you fill out the rest of your spreadsheet, make sure competencies remain in column A and levels in column B. If you’re not using levels, leave column B blank. You only need to fill this column out if you’re importing resources mapped to specific proficiency levels, which we’ll explain in step 3.
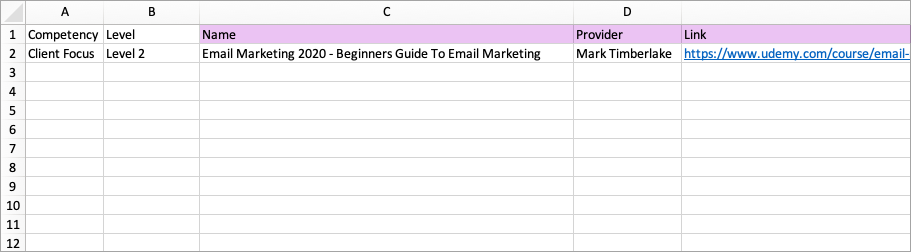
Step 2. Add headers
Change the remaining field headers to your desired names such as Name, Provider, and Link. These fields do not need to already exist in CompetencyCore. They will appear in order from left to right, so the first field should be “Name”, followed by the others. The content you enter in these fields appears in PDF feedback reports. The more fields and content you add, the more space they’ll take up in the reports.
Caution: Include https:// or http:// in links or else they won’t be clickable.
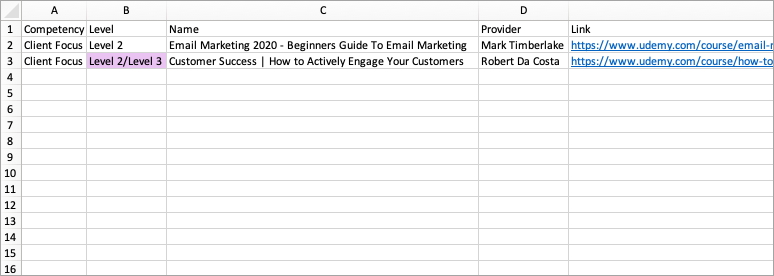
Step 3. Map to specific levels
Contact your Client Success Specialist at HRSG to turn on the setting so you can map to levels.
- To map a resource to one proficiency level, enter the name of the level in column B.
- To map a resource to multiple levels, enter the name of each level in column B, separating each with a forward slash (Level 1/Level 2/Level 3).
Note: Multiple competencies can’t be associated to the same resource in the spreadsheet. Associate additional competencies directly in CompetencyCore after importing, or recreate the same resource in the spreadsheet and associate a different competency.
Step 4. Save the file
Click Save as and select Excel Workbook (*.xlsx).
Step 5. Upload the file
- Navigate to Learning Resources.
- Click the 3-dot icon on the right of the page and choose Import from Excel.
- Click Choose File, select the Excel file, and click the Import button.

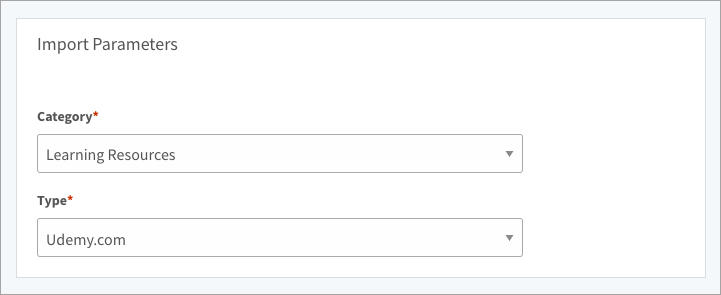
Step 6. Select a resource type (or create new)
Select a category for the resources. Select an existing resource type or select Create New.
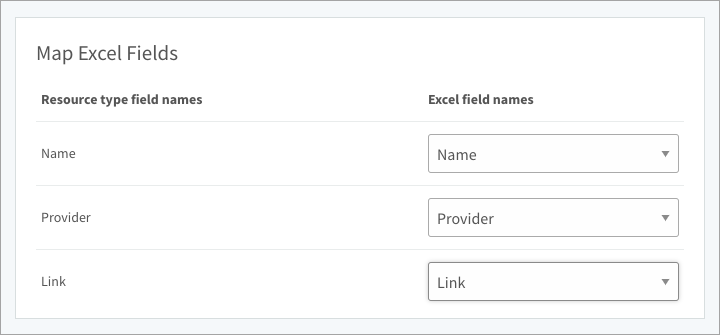
Step 7. Select field types
Create new: If you’re creating a new resource type, enter a name and description and click Next. You’ll see a list of the columns in your Excel file. Select a field type for each one. To use embedded hyperlinks or text formatting, select a text area. For plain text in small amounts, select a text box.
Add to resource type: If you’re adding learning resources to an existing resource type, a list of the fields on that resource type appears. Select an Excel field to map to each one.