Learn how to create a form or select-list that you can attach to jobs, plans, or learning resources to collect custom information
In this article:
A custom form is a collection of information fields that you can add to items in CompetencyCore. Create and edit forms to add customized information on: jobs, plans, and learning resources. These custom forms are usually used to hold more information than the default format will allow.
Creating custom forms
Custom forms are created using different types of fields. You could create a form with just one field like a textbox, or you could create a more complex form with multiple fields like a textbox, date-picker, and link. The same fields can be reused on different custom forms.
To create a custom form
- Click the gear icon on the top right of your screen.
- Expand Features in the Administration menu and click Forms.
- Click the Create Custom Form button on the top right of the page.
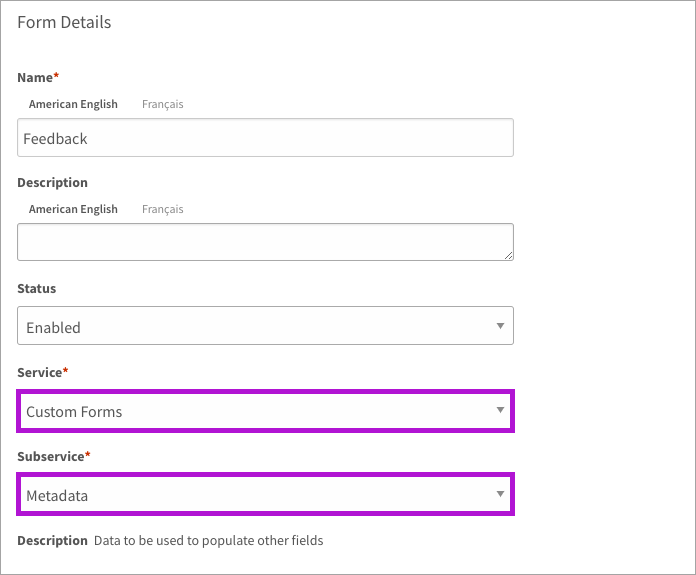
- Enter a name and description.
- Leave the status Enabled.
- Select the service and sub-service where you’ll use this form and click Save.
- Organization: Jobs or Positions
- Learning Resources: Learning Resources
- Plans: Plan Types or Goal Types
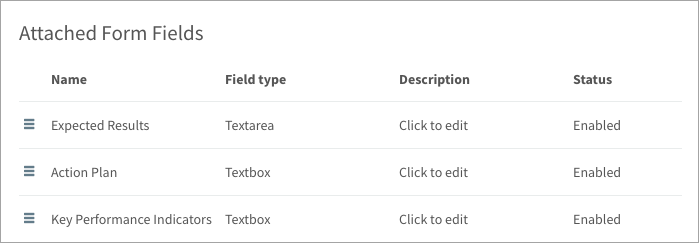
- Point to the gear icon in the Attach Form Fields table and select Create Field.
- Enter a name and description and select a field type:
- Textbox
- Numeric Textbox
- Large Textarea
- Link
- Date Picker
- Year Picker
- Click Save.
- Scroll to the Custom Fields table (the field is already selected) and click Add.
- Repeat steps 7-10 for as many fields as you’d like to include on your form.
Creating select lists
Creating a select list is a little more complex than a custom form.
Step 1. Create a textbox form
- Click the gear icon on the top right of your screen.
- Expand Features in the Administration menu and click Forms.
- Click the Create Custom Form button on the top right of the page.
- Enter a name and description.
- Leave the status Enabled.
- Select the Custom Forms service and the Metadata sub-service. Click Save.
- Scroll to the bottom of the page.
- Point to the gear icon in the Attach Form Fields table and select Create Field.
- Enter a name and description and select the Textbox field type. Click Save.
- Scroll to the Custom Fields table (the field is already selected) and click Add.
Step 2. Add a list of options
- Return to the main Forms page (click Forms under Features in the main menu).
- Point to the form you’ve just created.
- Click the gear icon and select Edit Response Selections.
- Point to the gear icon and click Add.
- Enter a response option and click Save.
- Repeat steps 4-5 for as many responses as you want to add to your list.
For example, you could add the names of divisions that can be selected, such as “Sales” or “Marketing”. If you’re collecting feedback, you could add options such as “Weekly”, “Monthly”, or “Never”. To edit an option, click the text on the underlying page.

Step 3. Create a select-list field
There are four fields you can choose from to attach to the list of options:
- Radio button
- Check box
- Select list
- Multi-select list
- Click Fields under Features in the Administration menu.
- Point to the gear icon and click Create Field.
- Enter a name, which is the name of the field you’ll eventually attach to the main form.
- Select radio button, checkbox, or select list as the field type and click Save.
- Scroll to the Custom Field Population Details and select the Custom Form source.
- Click Select Display Element. Select the form you created in Step 1 and click Save.
- Back on the underlying page, click Save again.

Step 4. Create a form to hold the select-list field
Now when creating a custom form, you can add this field to include your select list on the form.
- Click the gear icon on the top right of your screen.
- Expand Features in the Administration menu and click Forms.
- Click the Create Custom Form button on the top right of the page.
- Enter a name and description.
- Leave the status Enabled.
- Select the service and sub-service where you’ll use this form and click Save.
- Organization: Jobs or Positions
- Learning Resources: Learning Resources
- Plans: Plan Types or Goal Types
- Scroll the Existing Form Fields section and select the field you created in Step 3.
- Click Add. Your select list will now appear in the sub-service you selected.